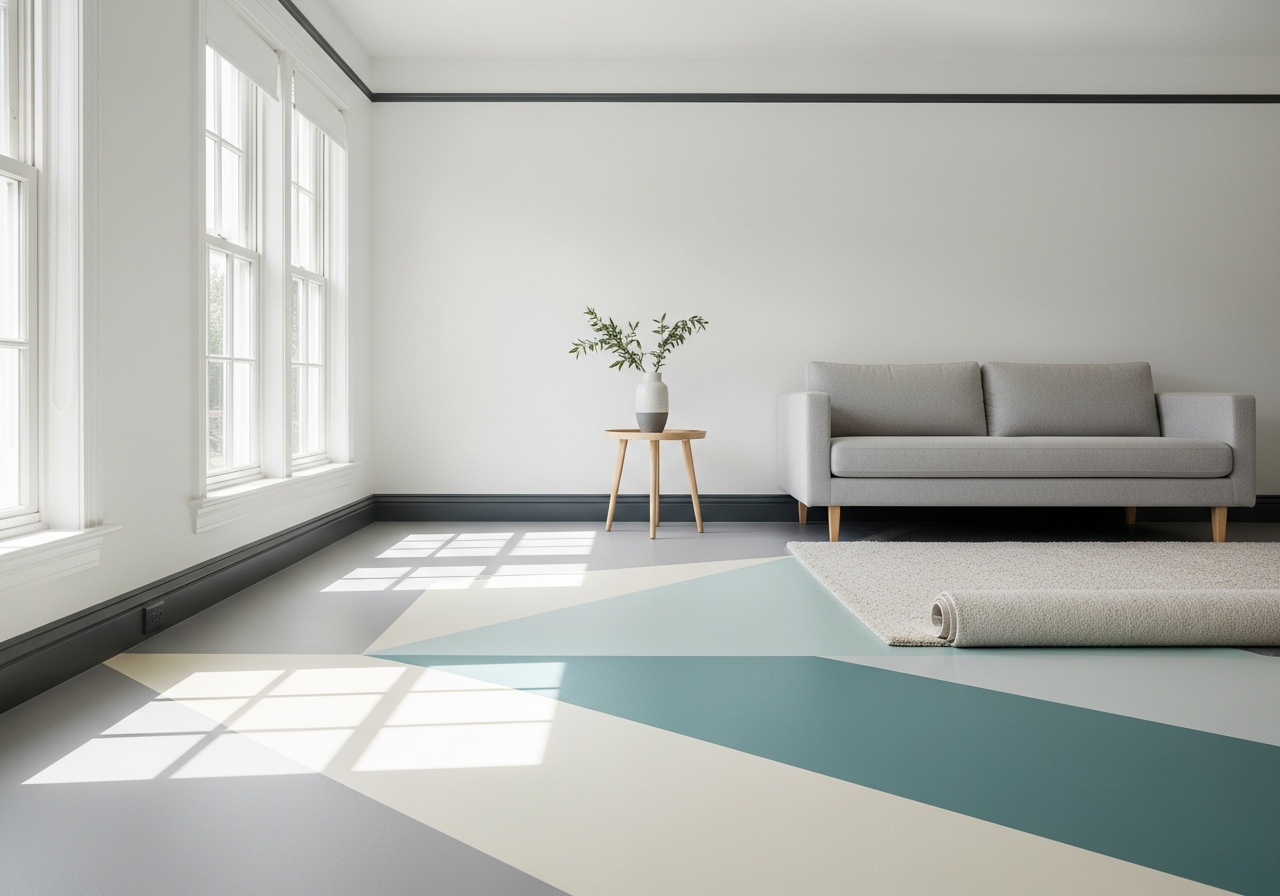
1. Why Living Room Floor Paint Makes Sense for Your Home
Replacing flooring can quickly drain your budget and take up weeks of your time. Painting your living room floor offers a fresh, stylish look without the steep costs and long waits. It’s a brilliant way to update your space while keeping things flexible—you can refresh or change your design whenever you want.
Living room floor paint works well for renters and homeowners alike. Many landlords allow painted floors because they’re easy to restore or change back when you move out. And if you own your home, it’s a way to personalize your space on a budget without permanent commitment. Plus, painted floors aren’t limited to one surface; they transform wood, concrete, and even old tile, making them versatile across many home styles.
Budget Breakdown: Paint vs Traditional Flooring
Traditional flooring options like hardwood, tile, or vinyl often come with labor costs, delivery fees, and sometimes expensive materials. These projects typically start around several hundred dollars and can reach thousands depending on the room size and quality of materials. In contrast, painting costs involve just a few cans of floor paint, primer, and supplies. A typical mid-size living room can be painted for under $150 in materials. Even factoring in your time, the savings are substantial.
Time is another factor. Installing new floors often means days without access to your room. Painting, by contrast, usually takes one to three days, with much of that being drying time. This quick turnaround means less disruption in your routine.
Best Floor Types for Painting
Not every floor is a perfect candidate for paint, but several common types do well:
- Wood floors: Proper sanding and priming can turn hardwood floors into painted masterpieces with lasting results.
- Concrete floors: Many basements and modern living rooms have concrete floors. These accept paint readily but need proper sealing to avoid chipping.
- Tile floors: Older, worn tiles can be transformed with the right prep and paint, giving them a brand-new look without the hassle of removal.
In all cases, surface preparation is critical to ensure paint sticks well and stays durable under foot traffic. Painted floors suit those willing to invest a bit of effort upfront for a unique finished look.
2. Choosing the Right Paint for Living Room Floors
Choosing the wrong paint can mean cracked surfaces, peeling edges, and redoing your project in months. Unlike walls, floors take constant pounding from footsteps, furniture, and even pets. So, selecting paint made for floors makes all the difference.
Water-Based vs Oil-Based Floor Paint
Water-based floor paints dry faster, have lower odor, and release fewer volatile organic compounds (VOCs), making them safer for indoor use. They clean up easily with water, and their flexibility helps prevent cracking as floors expand and contract. However, oil-based paints often offer a smoother finish and excellent durability, especially in areas with very high traffic. The downside to oil-based paints is longer drying times and stronger fumes during application, requiring good ventilation.
Special Additives for Grip and Durability
Floor paint manufacturers often suggest adding non-slip additives like fine sand or textured granules. This reduces slipperiness, especially important in homes with children or elderly residents. Most floor paints also include toughening agents to resist scuffs and scratches. For high-traffic living room floors, epoxy-based paints provide a strong protective layer. Epoxy floors shine with high gloss finishes and can stand up to heavy furniture without damage.
Finish matters, too. Satin or semi-gloss finishes offer a balance of shine and subtlety, masking dust while reflecting enough light to brighten the room. High-gloss finishes boost durability but may show scratches more easily.
Some well-reviewed brands offer affordable options around $30 to $50 per gallon, covering roughly 300-400 square feet. Choosing low-VOC or zero-VOC labels ensures a safer indoor environment without sacrificing performance. Always check the paint label to confirm suitability specifically for floors, not just walls or porches.
3. Preparation Steps That Make or Break Your Project
Skipping preparation is the fastest way to see your paint bubble, peel, or chip away. The secret to long-lasting floor paint is in the work you do before the brush ever touches the surface. Taking time to prep ensures your painted floor looks great for years.
Testing Your Floor’s Current Finish
Before you start, find out what finish your floor has now. This matters because paint sticks differently depending on the existing coating. A simple test uses denatured alcohol on a small hidden spot. If the finish softens or comes off, the floor likely has a polyurethane or varnish that needs sanding or stripping before painting.
Deep Cleaning Strategies
Remove dirt, grease, and grime with heavy-duty cleaners that suit your floor type. For wood, use mild detergents; concrete may need degreasers. Clean floors help paint adhere better and prevent bubbles under the surface.
Sanding and Smoothing
Sanding is often necessary to roughen the surface for better paint grip, especially on glossy wood or tile floors. Use a medium-grit sandpaper and smooth out scratches and uneven areas. For concrete, acid etching or mechanical grinding may be required to open the pores and improve adhesion.
Filling and Repairing
Fill cracks, holes, or gaps with appropriate wood fillers or concrete patch compounds. Allow repairs to dry fully and sand them flush. This creates a flat, even surface, essential for a professional finish.
Priming Your Floor
A quality primer seals the surface, providing a strong base for paint to bond. Choose a primer designed for your floor type and allow it to dry according to manufacturer instructions. Primer also helps cover stains or tannins from wood that could bleed through the paint.
Preparing the Room
Remove all furniture, rugs, and decorations from the space. Use painter’s tape along baseboards or edges to protect walls. Cover adjacent rooms or vents to minimize dust spreading. Taking these steps keeps the environment controlled and speeds up cleanup.
Conclusion
Living room floor paint is a smart, affordable way to update your home’s look. It offers a quick makeover that works on many floor types and suits both renters and homeowners.
To get started, pick the right floor paint based on durability, finish, and safety. Then, prepare your floor carefully by cleaning, sanding, repairing, and priming. Taking these steps ensures your painted floor lasts longer and looks sharp.
Once finished, let it cure fully before moving furniture back in. Consider adding rugs or felt pads on furniture legs to protect the painted surface. With proper care, you’ll enjoy a stylish, unique living room floor for years to come.